


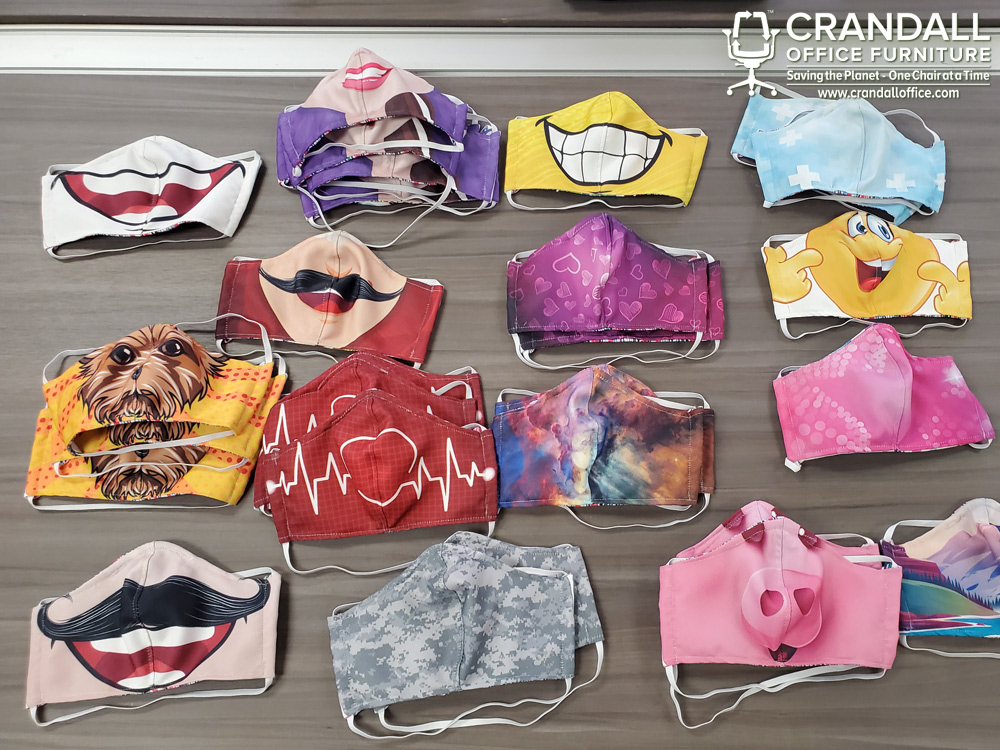
We’ve had a lot of requests for the template we are using to make the face masks we’re donating to local hospitals here in Michigan. We spent a lot of time and effort coming up with this design, and we hope it helps you make some masks and help out those on the front lines of COVID-19.
We found and modified another pattern to make this design, so we do not claim any sort of ownership to this. Our purpose for releasing this design and our steps is to make sure anyone who wants to can make one for themselves or to donate.
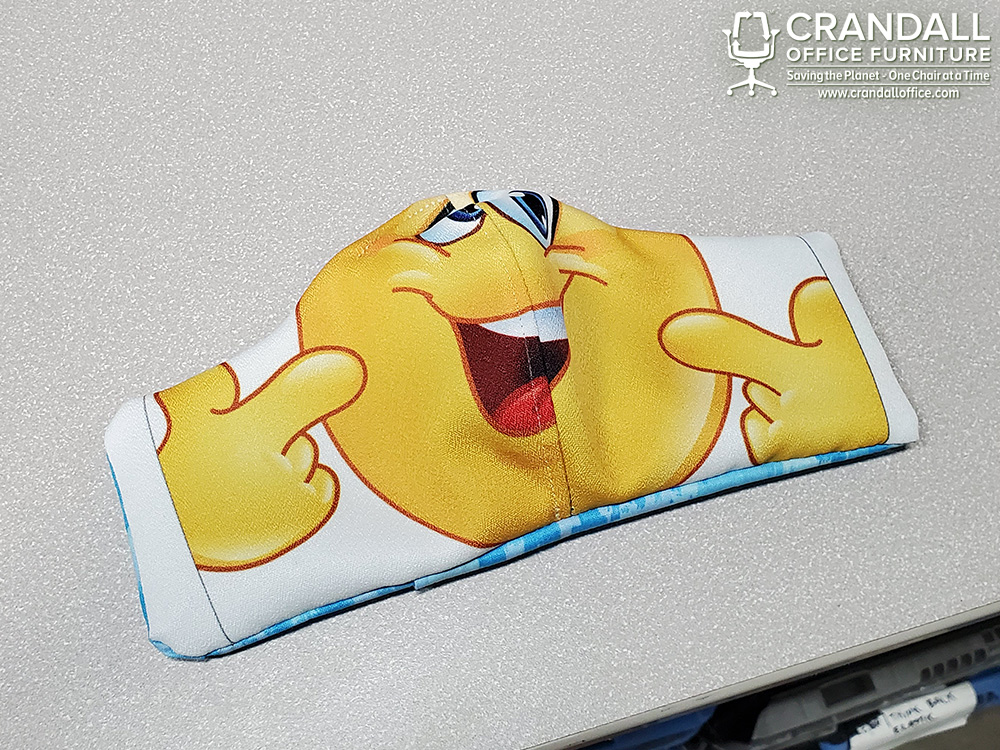
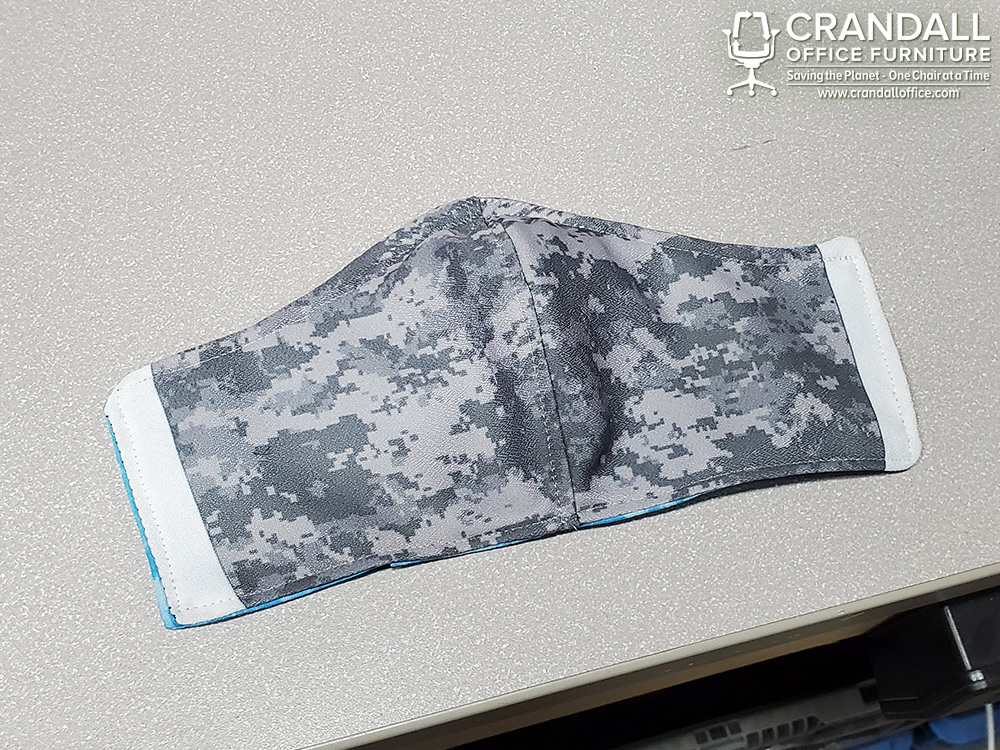
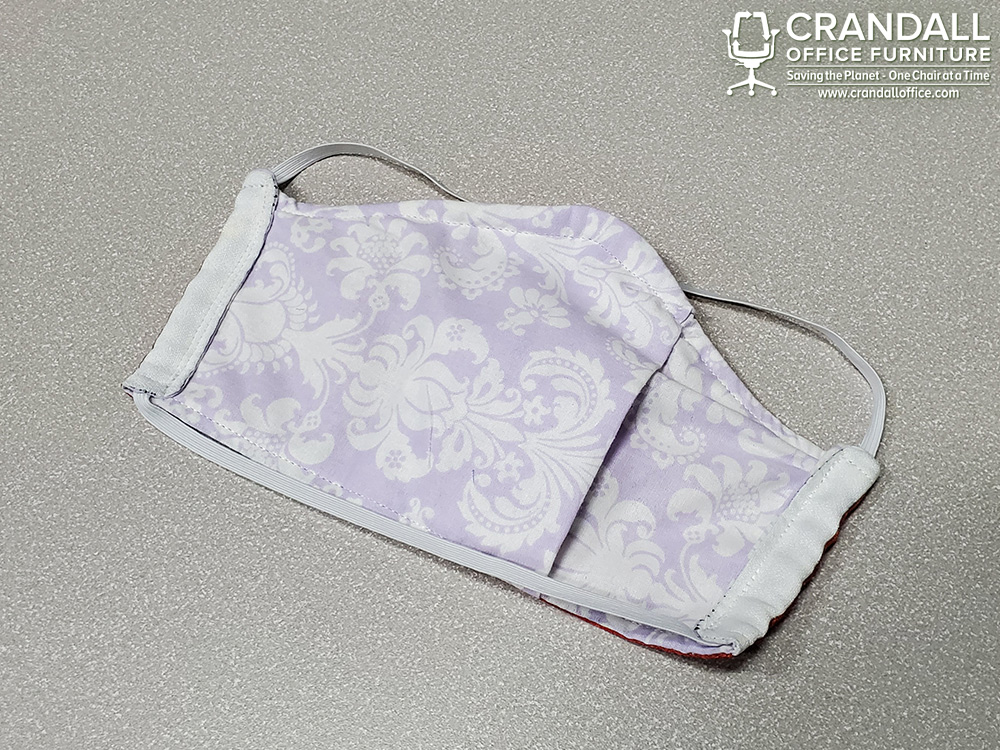
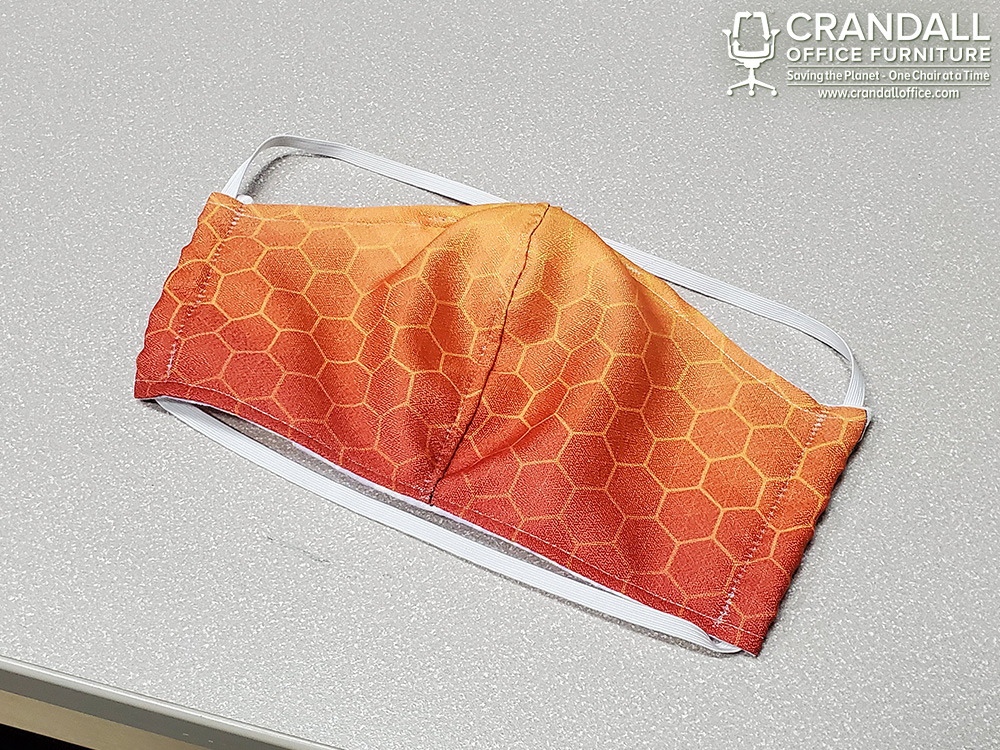
This face mask design was made to be washable and reusable. We’ve also designed it with a pocket in the back to hold a disposable filter, and was approved by the hospitals we are working with to donate these masks. If you plan on donating, please check with whoever you are making the masks for, to make sure that this design works for them prior to sewing and donating the masks.
Note: These are not N95 masks
Face Mask Instructional Video:
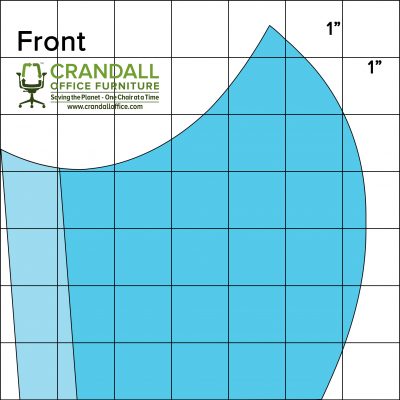
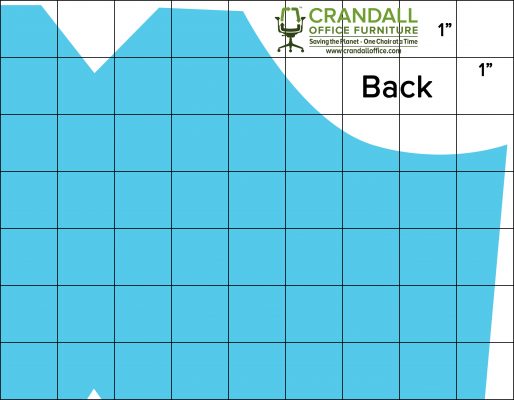
Fabric Templates:
Step by Step Instructions to Sewing Face Masks:
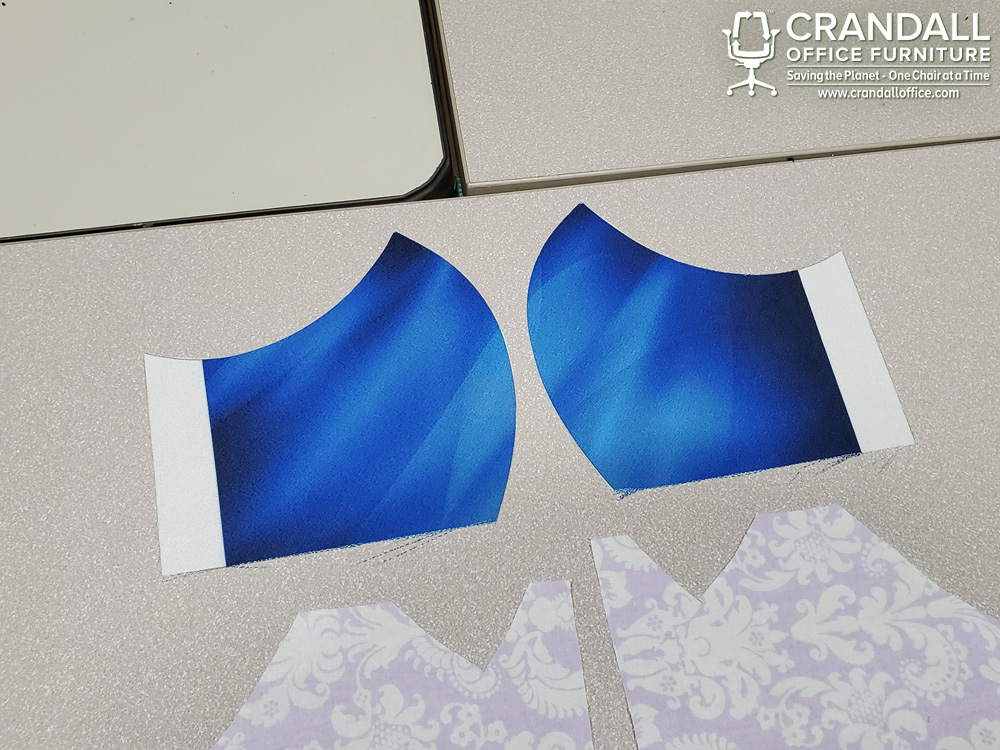
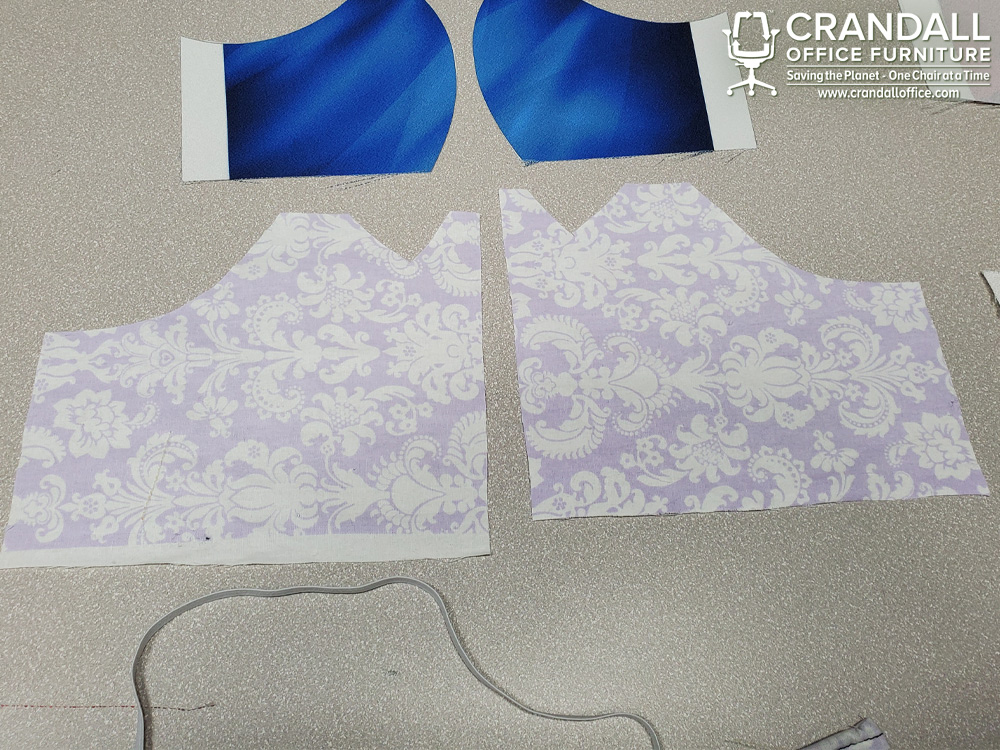
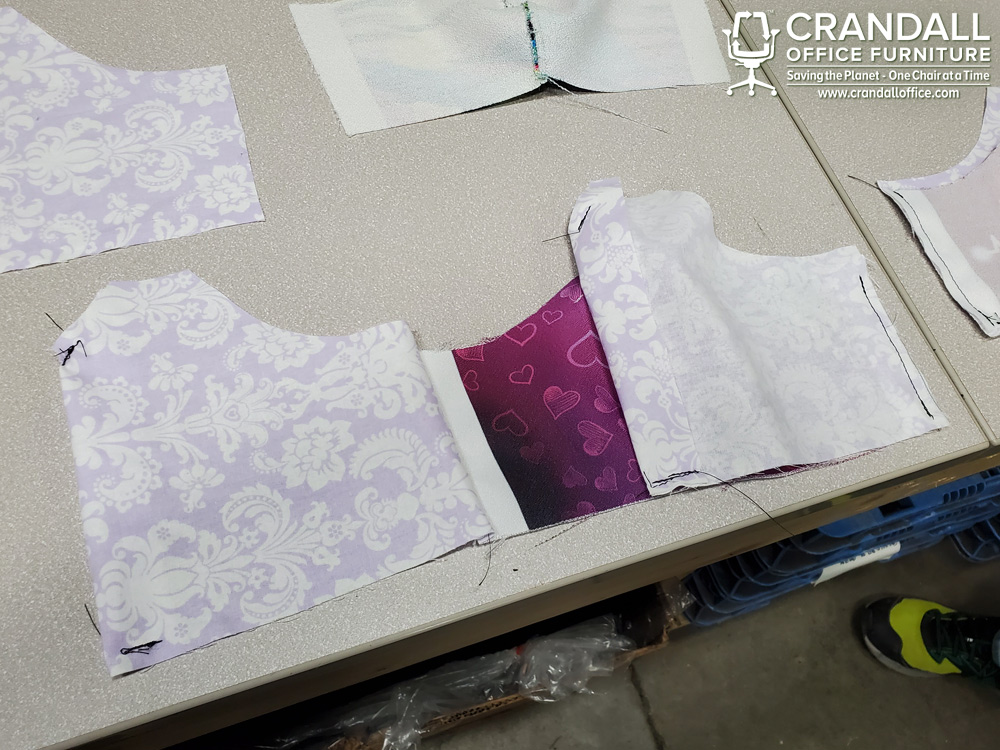
1. Cut out your fabric using the front (outer) and back (inner) templates provided.
2. Stitch the curved part of the 2 sides of the outer mask (front template). 1/4″ Seam Allowance.
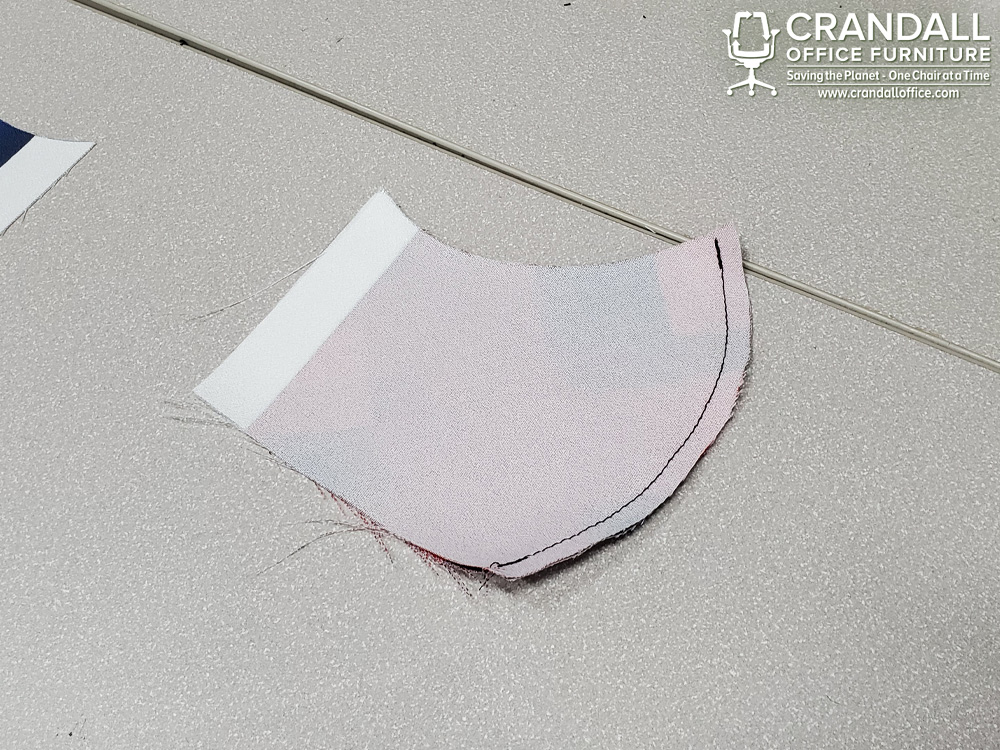
3. Nip the curved edge without cutting your stitch you just made.
4. Lay that seam allowance to one side and top stitch the outside of the mask, as close to the edge as possible (1/8″).
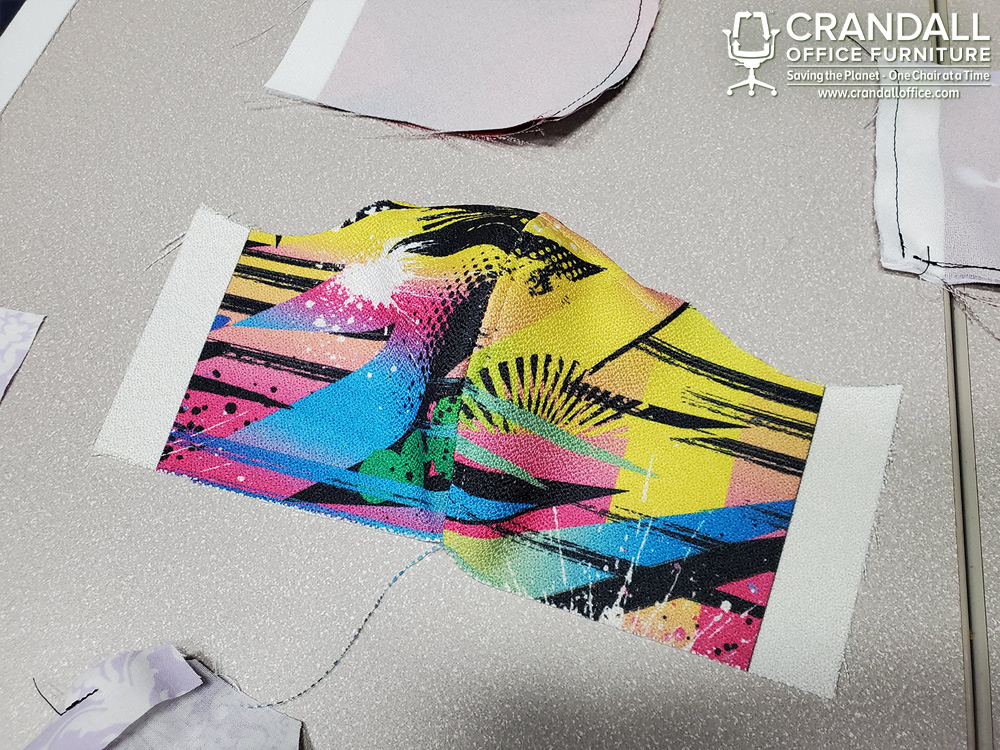
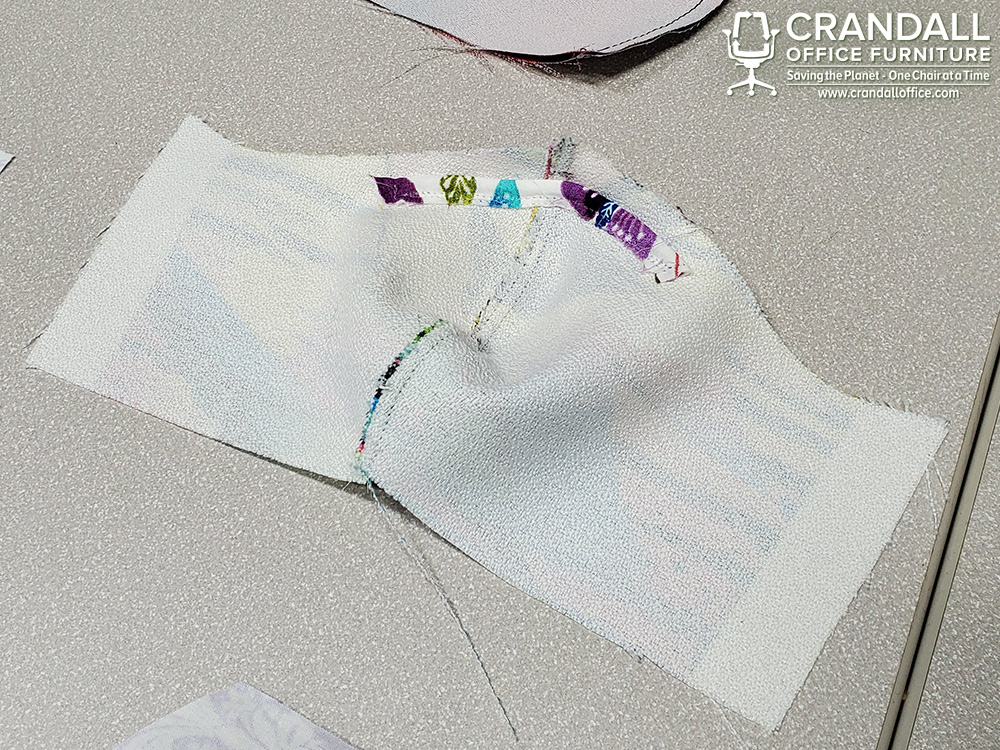
5. Take 4″ of pipe cleaner, and stitch it within a piece of fabric to encase the pipe cleaner and prevent it from moving.
6. Sew the pipe cleaner to the inside of the outer mask. 1/2″ from the top of the mask and following the curve.
7. Place lining pieces (back template), and fold over the one edge at the notch on the bottom, to create a finished edge.
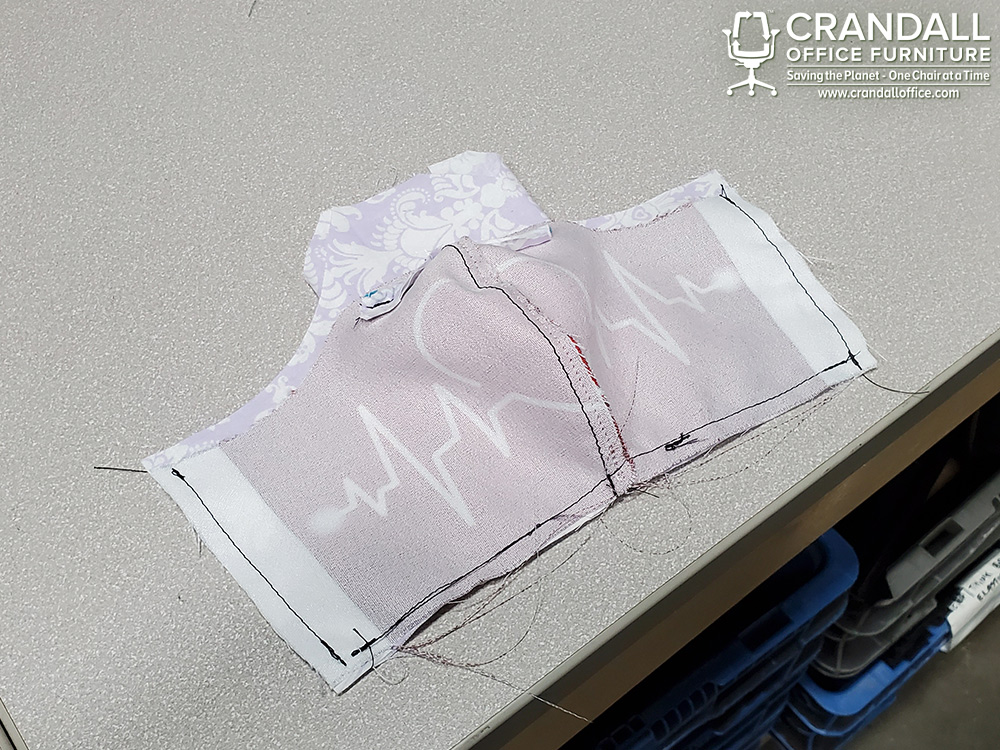
8. Line up the sides of the liner (back) with the sides of the outer mask (front), making sure you place good sides vs good sides. Stitch sides with 1/4″ seam allowance.
9. Stitch bottom edge of the entire mask, making sure it lays flat and pull tight. The inner lining (back) sides should overlap one another.

10. Now stitch the top of the mask. Starting with one side and ending at the center of the mask. Now stitch the other side. Trim off any unnecessary fabric.
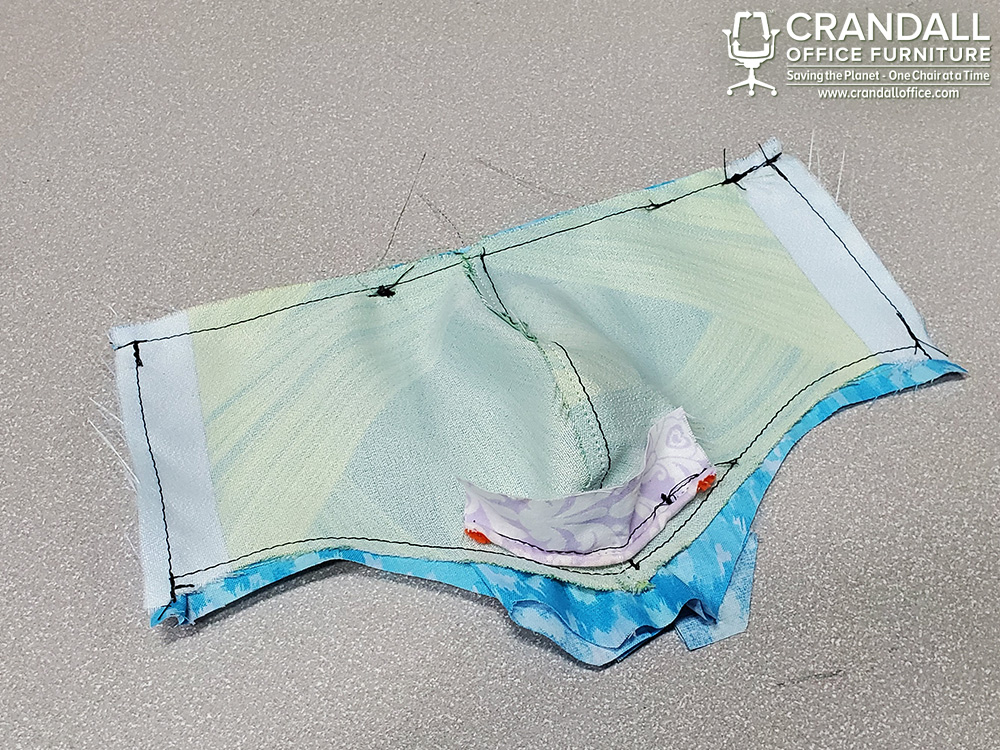
11. Turn the mask right side out, and top stitch along the top and bottom with 1/8″ seam allowance or as close as you can to the edge.
12. Cut an elastic band into 12″ strip, and sew both ends together to make a loop.

13. Fold over each side to create a loop for the elastic band, then sew the loop with the elastic band held in place. (do not stitch into the elastic, the elastic should free float in this loop.

14. Repeat on other side.
15. Your mask is now complete!
We hope these instructions help, and that you’re able to help make masks for yourself, your friends & family, or to donate to hospitals, first responders, or anyone else who could use them!
Let us know if you have any questions, stay safe out there!